

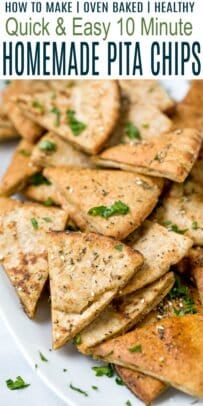

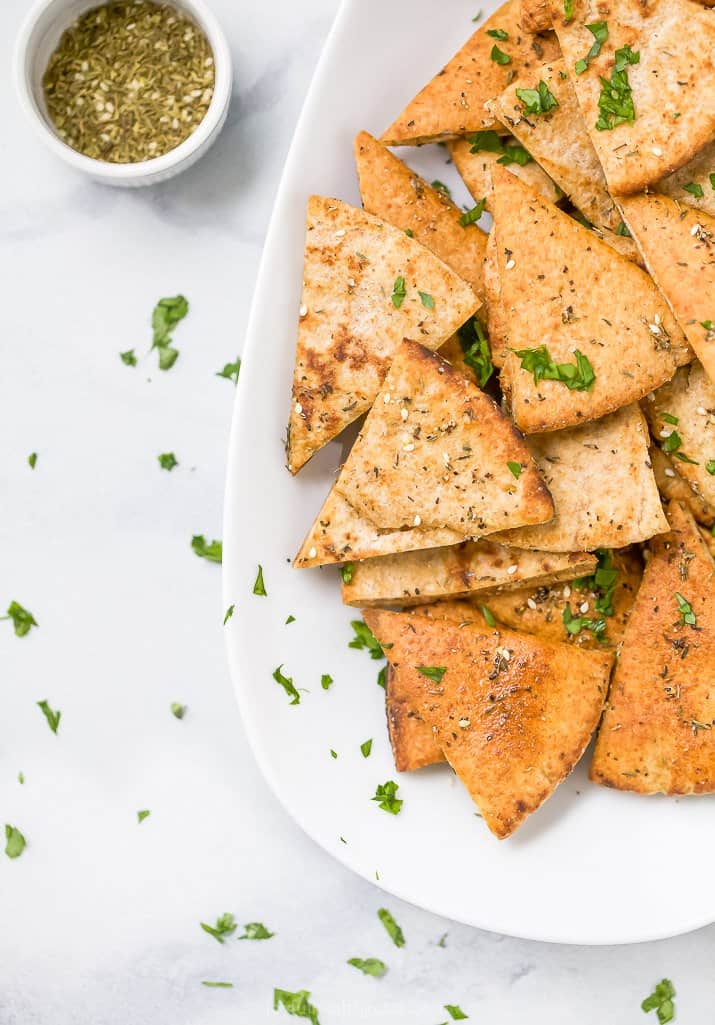
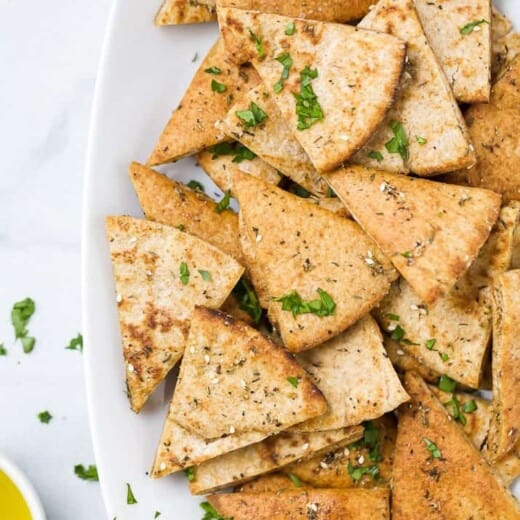
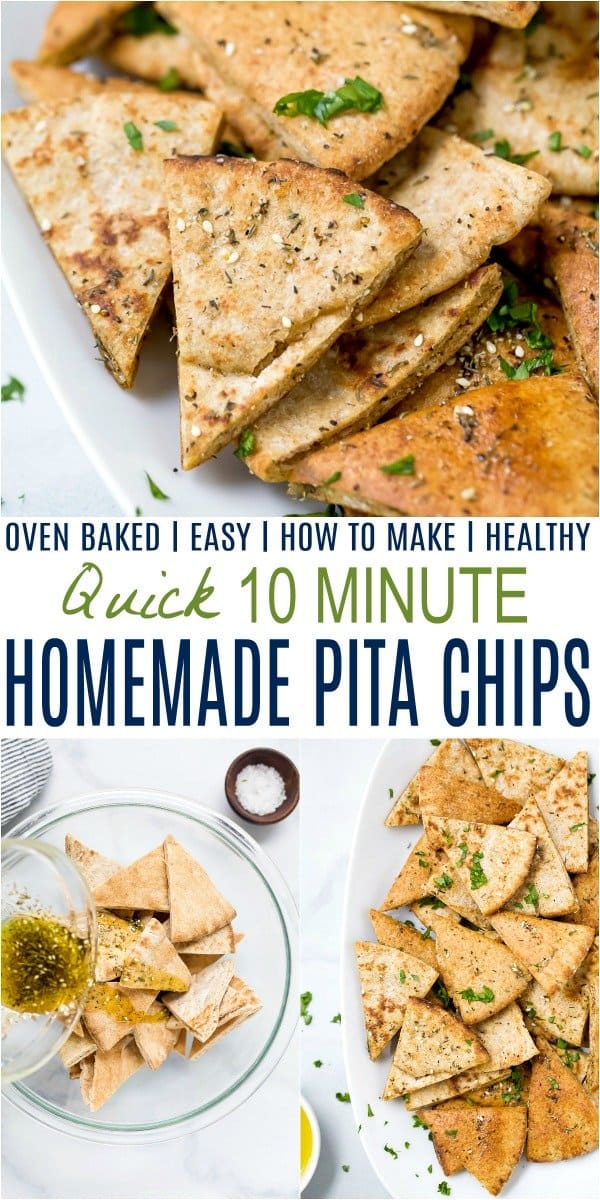
A classic recipe for crispy Homemade Baked Pita Chips! These crunchy pita chips are easy to make in under 30 minutes, customizable with your favorites herbs and perfect for snacking.
If you’re gonna make your own homemade pita chips then you better make your own homemade creamy hummus and serve it with these epic marinated olives & feta cheese.
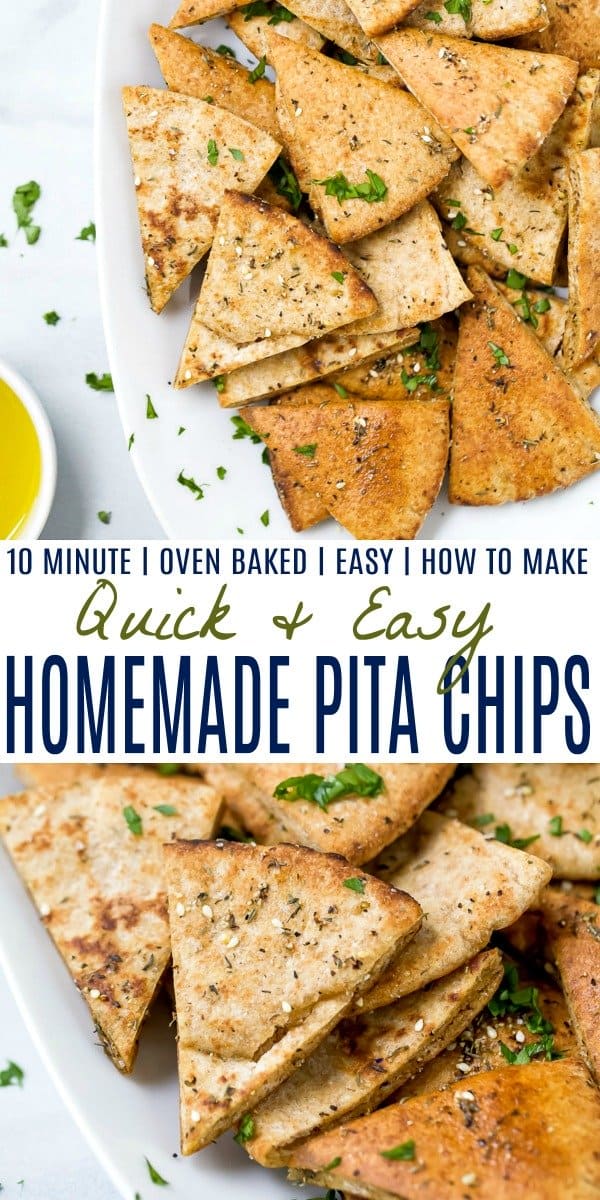
Quick & Easy Homemade Pita Chips
I cannot say it enough. Making your own food is not only rewarding, but it is also WAY better than the store bought stuff.
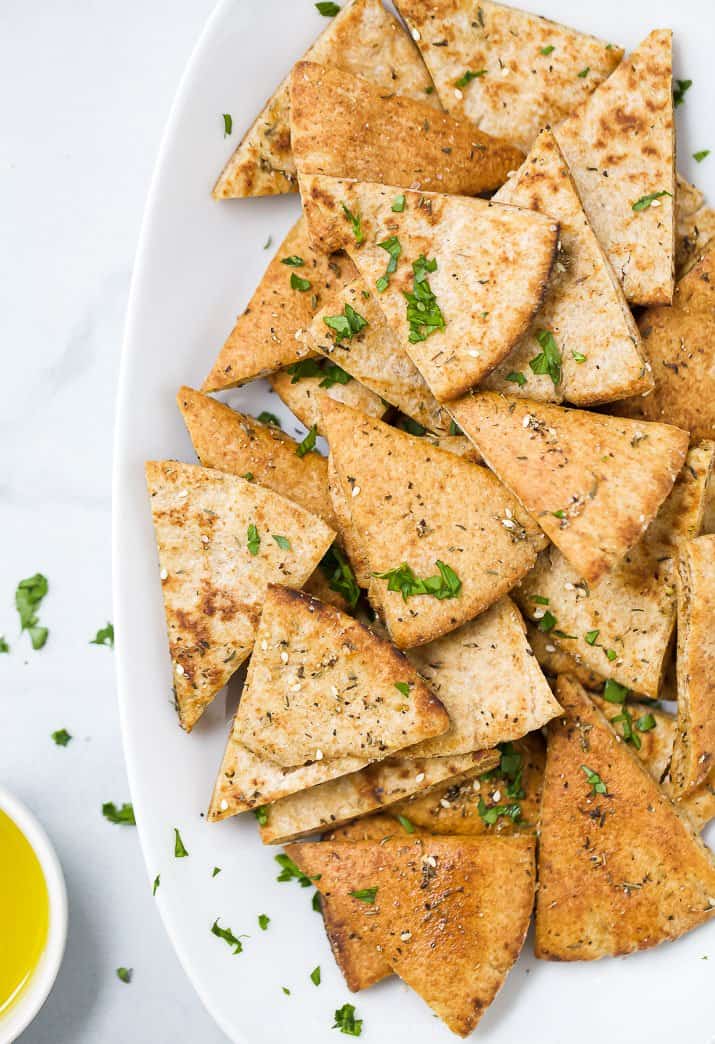
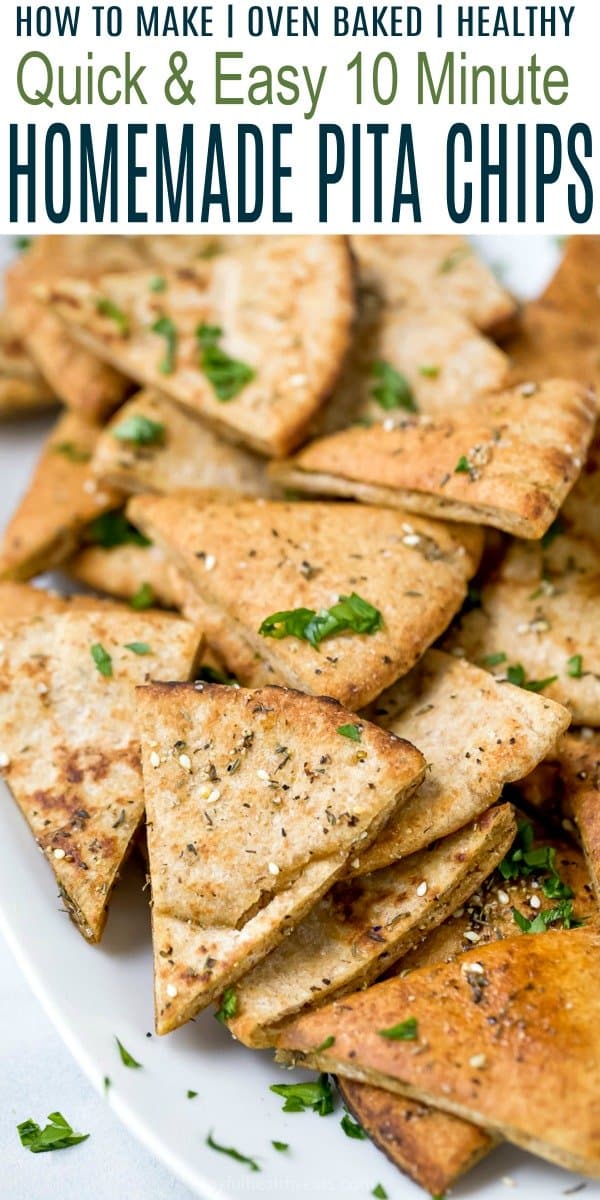
Case and point –> these Homemade Baked Pita Chips. They have just the right amount of crunch on the outside while being semi-tender on the inside. They are absolutely divine when they are fresh out of the house! As in they are straight up addicting so you may not have any leftovers! Just saying.
Let’s dive in so you can get to baking!
Are pita chips healthy?
Many women think that pita chips are a healthier alternative to regular chips. However, some varieties can rack up as much fat and sodium as a bag of Doritos. Flipse suggests you opt for baked, not fried, varieties, and seasoned, not salted. Stacy’s Multigrain Pita Chips are a good choice
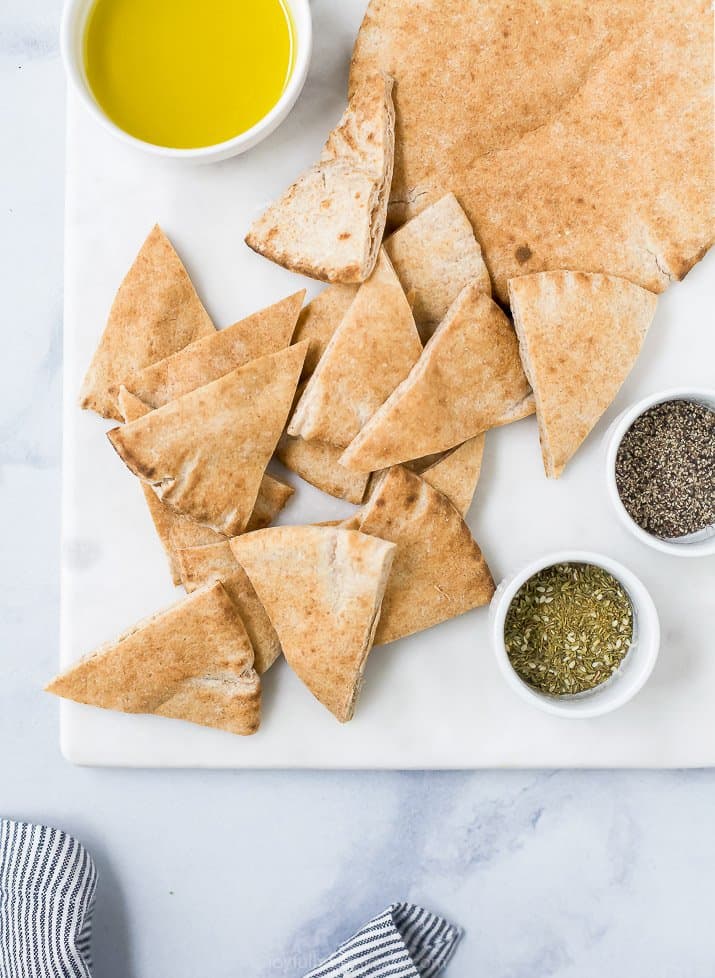
Ingredients you’ll need to make Homemade Pita Chips:
Pita Chips are so easy to make, you’ll never go back to store bought once you’ve made your own. Here are the ingredients you’ll need to make these epic baked pita chips.
- Pita Bread – You can use plain or whole wheat pita bread for these pita chips. I like to keep them with the pocket in the middle instead of separating the pita pocket which would create thinner chips. However, if you like the thinner chips then by all means separate the pockets.
- Olive Oil – Use a good olive oil to coat the pita bread so it browns nicely and gives good flavor.
- Herbs – This is your opportunity to add flavor or seasoning to your pita chips. I use dry basil, garlic powder, salt and pepper. I have also used a mediterranean spice called Za’atar which is delicious as well.
How to make Homemade Baked Pita Chips?
- Prep Oven: Preheat oven to 350°F. Next, line a baking sheet with parchment paper.
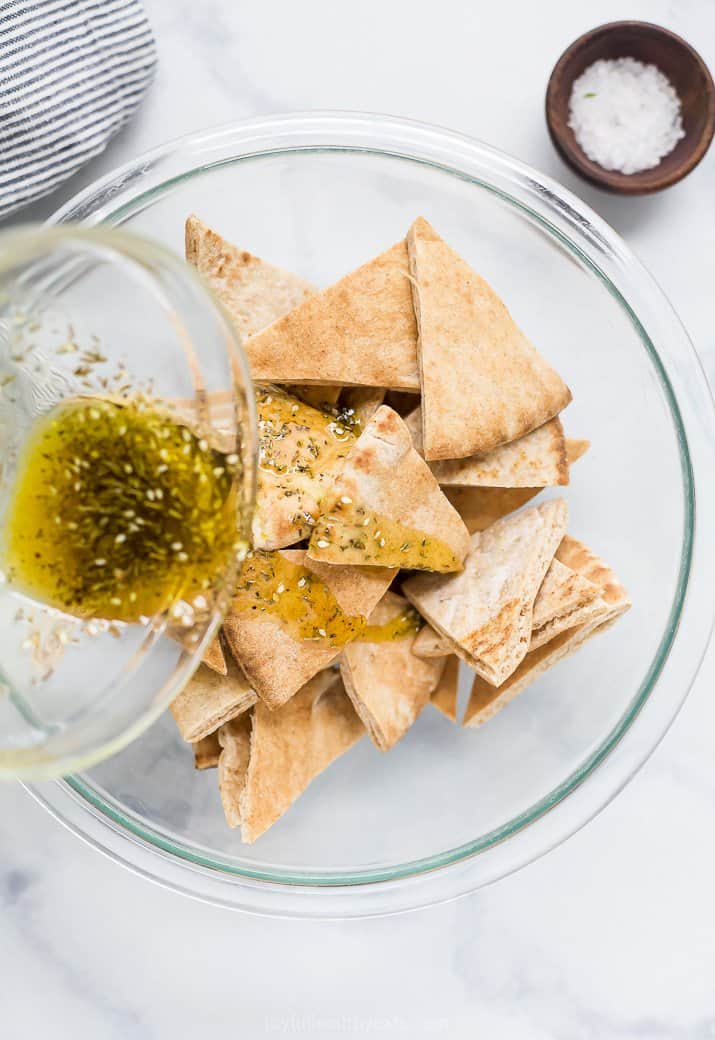
- Make Herb Oil: In a small bowl, mix olive oil, basil, garlic powder, black pepper and salt.
- Cut Pita Bread: Using a knife cut a whole pita bread into 8 even triangles.
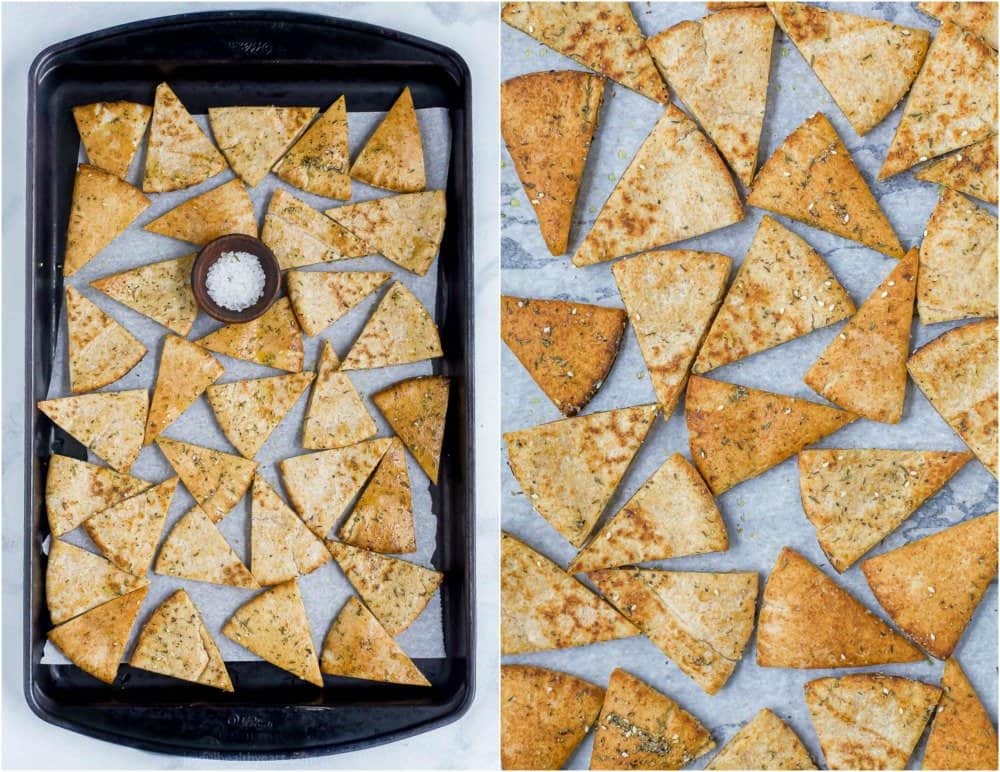
- Season: Place pita triangles in a large bowl and pour your seasoned olive oil over the pita. Using your hands, gently toss to coat each triangle with the seasoned olive oil. Then place seasoned pita bread on prepared baking sheet.
- Bake: Place baking sheet in oven and bake pita chips for 8-10 minutes, until slightly browned.
Are pita chips gluten free?
If you are using store bought plain pita bread then most likely it is not gluten free. Pita Bread is made from flour which means it will have gluten in it. However, if you’d like a gluten free option. I’d recommend these.
How to Store Homemade Pita Chips?
Once pita chips have cooled, store in an air tight container at room temperature. If stored properly these homemade pita chips will last up to 7 days. However, I recommend not letting them go past 3 days so they are at their freshest and still have that nice “crunch.”
What to serve with Homemade Pita Chips?
- Roasted Red Pepper Hummus
- Creamy Tzatziki Sauce
- Roasted Garlic White Bean Hummus
- Greek Turkey Meatball Gyros
- Light Greek Salad with Grilled Chicken
- Best Guacamole Recipe

Quick & Easy Homemade Baked Pita Chips
- Prep Time: 5 minutes
- Cook Time: 10 minutes
- Total Time: 15 minutes
- Yield: 3 cups or 40 chips 1x
- Category: Appetizer, Snack
- Method: Oven
- Cuisine: American
Description
A classic recipe for crispy Homemade Baked Pita Chips! These crunchy pita chips are healthy, easy to make in under 30 minutes, customizable with your favorites herbs and perfect for snacking.
Ingredients
- 4 Whole Wheat Pitas, cut into 8 triangles
- 2 1/2 Tablespoons of olive oil
- 1/2 teaspoon of garlic powder
- 1/2 teaspoon of black pepper
- 1 teaspoon of dry basil
- 1/4 teaspoon of sea salt
Instructions
- Preheat oven to 350°F degrees.
- Line a baking sheet with parchment paper.
- In a small bowl, mix olive oil, garlic powder, black pepper, basil, pepper and salt.
- Place pita triangles in a bowl and pour seasoned olive oil over pita. Gently toss to coat each pita triangle, use your hands for this.
- Next place pita triangles on prepared baking sheet.
- Bake for 8-10 minutes, until slightly browned.
- Remove from oven and let cool. Serve immediately or store in an air tight container.
Filed Under:
DON’T MISS A RECIPE ->


48 comments on “Quick Easy Homemade Baked Pita Chips”
Great recipe. So easy and way better than store bought.
Yes and amen! So glad to hear you liked them!
Oh my goodness!! This has to be the best and easiest recipe ever.
These chips are fantastic!
Yeah! That’s awesome to hear. Glad you enjoyed them.
I used zaatar in my herb oil. The chips were fantastic!
Excellent idea! My husband was on a pita bread kick and grew tired of them. This saved me from throwing an almost full bag out.
Problem solved! I am so glad this recipe was a hit!
Our family loves this recipe! So good!
So glad it was a hit with the family! Thank you for giving this recipe a try!
Your pita chip recipe with red pepper hummus is my all time favorite snack. So easy and delicious!
Such a good combo! Store-bought just can’t compare to homemade. So glad you enjoyed this recipe!
These pita chips were amazing!
Couldn’t agree more! Thank you for giving this recipe a try!
oh my gosh…these are divine!
Thank you! Yes, always double the batch – they disappear so fast!
I was linked to this recipe from an article on Noom. These pita chips are delicious just as the recipe is written! Will definitely make again, and play with an assortment of seasonings to keep it interesting. Thank you!
Awesome! These pita chips are so easy and delicious! I always make extra because they are gone so fast!
Great idea! These chips were a huge hit alongside some dips I had made for a Superbowl party. Every single chip got eaten, so I wish I had made more. They were really good, despite being made with Whole Wheat pita breads. I did add some extra spices (Italian seasoning, Janes Krazy mixed-up salt, white pepper) to make them zippier. Also, I brushed the oil on both sides of the pita with a pastry brush for more even distribution. I flipped them over halfway through baking time, too.
You definitely won the appetizer game! Glad these pita chips were a huge hit!
These are amazing! Just stuck to the recipe and so good! Can’t wait to experiment with different spices. No worries about leftovers, there will be none.
Thanks, Valerie! Yes, I can’t wait for you to experiment! They will be divine!
Very good!
Hi Kelly! Thank you for the 5-Star Review!
I discovered this recipe spring 2021. I have been making these chips all spring and summer and my friends and family are wowed by them. I will never buy store bought again, these are so much better. I like to use chilli garlic olive oil instead of regular as it gives a nice mild spicy bite and I use Kosher salt instead of sea salt. These are really wonderful!
There is really no comparison! Homemade are the best! You know I am always down for a little spice!
These are perfect! Love the spice
So good and so easy! Happy you enjoyed them!
These are delicious with the pita bread I used thank you!
Once you try homemade, you can’t go back! So happy this recipe was a hit!
So yummy! I substitued all spices with 2 Tablespoons of Za’atar and served with baked feta, sundried tomatoes, and Greek olives. Thank you for posting!
Love baked feta! Thank you for the 5 Start review and so glad you enjoyed this recipe!
These were so delicious! I added 1/4 tsp onion powder to the recipe. Will definitely be making these again. Thank you for sharing!
You’re welcome. So glad you liked it.
Great snack. Would love you to bring it over to Food on Friday. Cheers
I had some “day old” pitas that I didn’t want to go to waste so I just made these pita chips and they are good! I added some onion powder and doubled the garlic powder for added flavor. I had full sized pitas and mini pitas. Because the mini’s are thinner, they crisped up beyond what I would have wanted but like Sherwood said, they didn’t taste burnt, just extra crunchy. Nice recipe. Thanks for sharing.
Oh love the spice change up you did, I bet they were delicious!
So great! I split my pitas and cut into strips…had quite a bit of olive oil mixture left over (making them even more healthy?)
Yup! If you had extra olive oil just discard, you definitely don’t need it. I think I had a bite left over as well. So glad you liked them!
How do you store these?
I keep them in an air tight container in the pantry or in a ziplock back. They’ll last about a week or so. 🙂
I hadn’t intended on making these this past weekend, but I’d made a note to do a price check on whole wheat pitas to get an idea of how expensive they were. I expected them to be pricey. But much to my surprise I could get a bag of 6 for less then $2! So I snagged some. And made this. The hardest part was getting them arranged to fit on our two pans so I wouldn’t have to do multiple batches. It was a tight fit, but I managed. 🙂 I slopped all the oil/herb mix on the chips (I’d hate to waste, and hoped they wouldn’t turn out oily and gross–they didn’t). Even at the minimum time, one pan of these came out really dark. I was worried they’d taste burnt, but they didn’t! Just super crispy. My boyfriend described them as “like crack” and demanded they be taken away from him after five or six “one more” trips into the container. They’ve been tried with homemade guacamole as well as split pea soup but are also amazing just by themselves. I don’t know if it’s necessary, but I’ve been storing these in containers with rice at the bottom in hopes of keeping them crisp. I’d read of other bloggers doing that with roasted chickpeas to keep them crunchy… Days after, they are still nice and crispy. No idea if it’s the rice. Anyway. I think these are going to become a staple. They’re so easy to make and so cheap! And so healthy! Thank you so much for the recipe!!
haha… this comment just made my day! I love that your boyfriend said they are “like crack”!!! And I’d have to agree, they are addicting for sure. Glad they came out so well and genius idea on storing them with the rice.. I will definitely do that next time I make them! So glad they are on your “staple” list, hurray! Thanks Sherwood!
I thought I read you bake first then brush on the olive oil..In directions you write brush with olive oil before you bake. I like the idea of putting it on after baking 🙂
hey karen, I did it before but if you’d like to try it after baking then definitely do it. Let me know what you think. 🙂
I’ve done them before and I love them. I like that you added garlic powder to them. So delicious:)
Thanks Ilona! Yeah for pita chips!
Yum! I’ve become addicted to pita chips lately, love the idea of making my own!
they are so easy emily, hope you get a chance to make them. 🙂